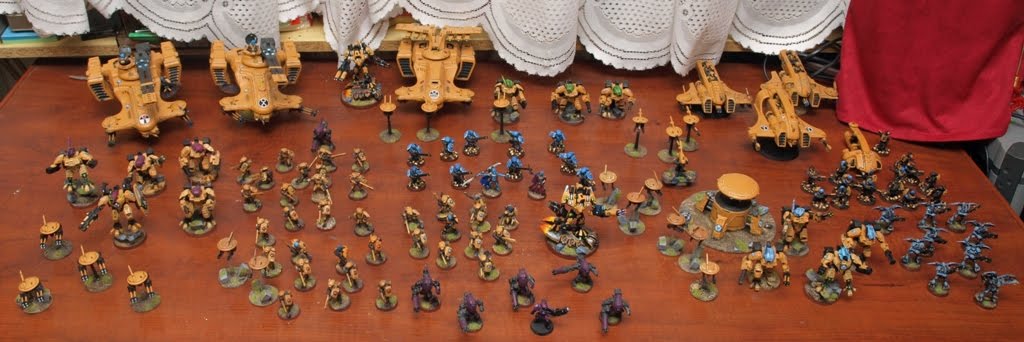
Zainspirowany poczynaniami kolegów z Eye of Madness postanowiłem porzucić na moment malowanie figurek do Flames of War i domalowac pancernik klasy Despoiler z poziomu "gaming-ready" na Gothicomp-ready :)
zastrzegam, że nie jest to skończona praca.
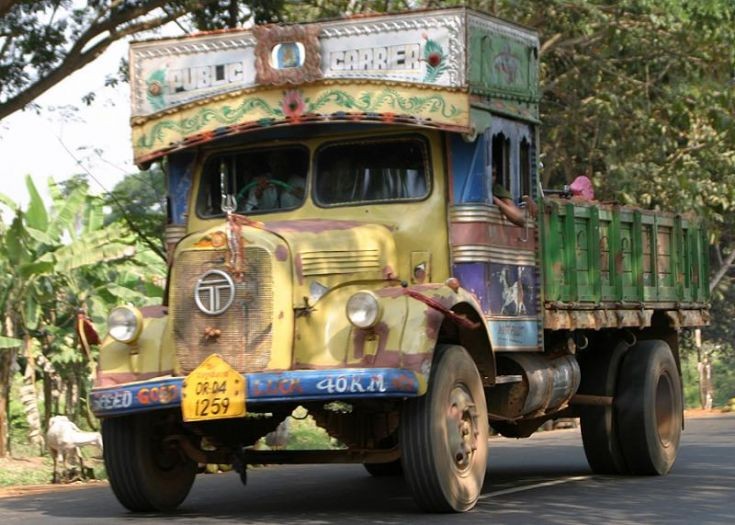
 Nothing special there. Next, I painted all the metallic parts with boltgun metal. Here comes the INTERESTING part: after the paint dries, I use a mix of 2/3 Tin Bitz and 1/3 Dark Flesh and a bunch of water to create a wash. This is my "rust" wash. Notice that we are going to apply it on bare boltgun metal. The question that we have to ask ourselves is w-h-e-r-e will the rustiest bits be and where we will have no rust.
 The next little step was to dry brush highlights on the Paint as well as adding some white edge highlights to emphasize the straight edges.
 Once we have the paint (and whenever I say the paint, I mean the Paint) ready, it is time for some weathering on it.
 Ok, time for another effect. But before we do that let's paint in some of the other details not related to weathering. Now. ... Mud. ... Orks love mud... it reminds them of childhood. To make mud I looked to my spice cabinet. Ground cinnamon! Looks good. Take the cinnamon (or any other fine powdery condiment) and mix it with white glue and the color of your own personal mud. The cinnamon will absorb it all and create a thick paste that you can now apply wherever mud naturally goes... which is everywhere. Take special "care" of places where the wheels are, where orks move about (yeah, they like mud), and any other spot that will have contact with the ground.
 Once all that is finished. We can add some dusting. A very fine wash applied sparingly bottom up on the vehicle. Dust accumulates everywhere but the closer to the ground, the more of it will be.
 Although we are done, there are few more touches I want to show you.
 I used a toothbrush to add a spatter effect of muddy water on the sides of the truck and of a mark of an unfortunate road blocker on the front of the truck.
 On the previous picture on the ram, and on the next one, on the wheels, check the mythril marks showing where the dirt/rust/poop/'umies got recently rubbed off.
 Other interesting things to note:
 I do not like to spend a lot of time on guns and other menial equipment as I find it that it requires a lot of concentration to make blending on them look very good and for me it is not interesting enough to do spend time on it. The technique I used here did not take more than a few minutes and the result is satisfactory for anything other then competition entry or collector piece.
 This is my favorite part, painting the skin. I really enjoy painting the organic bits such as skin and fur as a more free and imprecise way of painting, such as mine, works to the benefit of such surfaces as they are never perfect in nature. The first thing I did was to gradually paint from dwarf flesh to white (off-white is an even better choice). I did this by putting a bit of white right next to dwarf flesh on the palette and mixing them in between, gradually adding more white to the mix. I usually do this by eye, but what I end up doing in the end, is painting around three to four progressive levels till I arrive to near-white.
 Ok, we finished doing the gradient.... but it certainly does not look like skin! Oh, wait my friends, do not throw the first stone! We are only behind the first and least inventive step. What we need to do now is to add character. I've done this by adding things like a red nose (diluted blood red), swelling around the band-aid, eyes!, drybrushed hair, and redness on stressed joints using diluted red gore.

 The clothing and leather were painted in a similar way to the gun. 1. Do three stages of highlights, 2. Wash with base color, 3. Re-do extreme highlights. For leather I used a bit more extreme highlight as leather tends to reflect light much better. I added another highlight to the skin mixing gloss varnish, white, and dwarf flesh to reinforce the highlights and add it a lively feel.
 The 98% finished model looks like this:
 And here are the pics of his buddies:
 Allright, that's it for now! May the emperor protect.